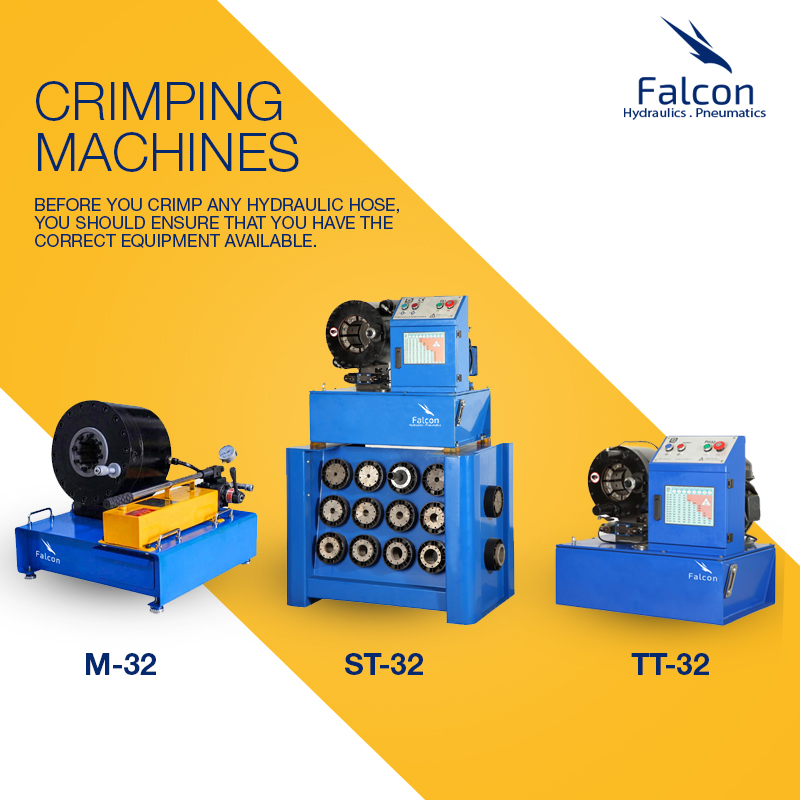
Crimping Machines Before you crimp any hydraulic hose, you should ensure that you have the correct equipment available.
If you are assembling your own hydraulic hoses in your workshop or for onsite repairs then you may be in need of a hydraulic hose crimping machine that allows you to crimp your own fittings yourself. Not only does this enable you to crimp hoses yourself but it can save time, because you won’t have to travel to the nearest place to have this done by someone else.
Hydraulic hoses are used on all sorts of systems and are made to specific lengths depending on where they are mounted on hydraulic components. By having your own hydraulic hose crimping machine, you no longer have to mount all the components, then measure up the hose lengths and go off to get the hoses crimped only to have to completely re-mount the components again afterwards.
Before you crimp any hydraulic hose, you should ensure that you have the correct equipment available.
Recommended safety equipment includes:
• Goggles,
• Ear protectors,
• Strong, protective gloves.
Crimping hydraulic hoses doesn’t need to be difficult. Simply follow the steps below:
1. Measure the length of hose your hydraulic system requires and cut to the right length. Before cutting, for critical hose lengths ensure to account for the cut off factor when determining the final length. If the edge of the hose is rough then this should be filed smooth.
2. Determine the insertion depth for the hydraulic hose within the appropriate fitting to ensure that once the assembly of the hydraulic system is complete it won’t fail.
Tip: Mark the insertion depth on the hydraulic hose with chalk to ensure accuracy.
1. Choose the correct crimp diameter for each hose, before selecting the correct crimp die set.
2. Push the hydraulic hose into the crimping machine and through the crimp die until the hose’s fitting appears above the crimp die. The top of the hose should not be visible above the crimp die.
3. Place the compression ring or collar above the crimp die.
4. Ensure that you have put on your safety gear.
5. Turn on the hydraulic hose crimping machine.
6. The crimping machine then pushes the collar that compresses the die and the machine will stop once the collar is at the bottom of the crimp die.
7. If you have marked the insertion depth with chalk checking whether the hydraulic hose crimping was successful should be simply. A chalk mark that is no longer at the base of the fitting then this is not a secure crimp and a result of the hose or fitting moving during the crimping process. A chalk mark that has not moved is the sign of a good, secure crimp to a hydraulic hose.
At Flowfit, we pride ourselves on the quality of our workshop machinery. Whether you’re looking for fixed machinery or a more portable alternative, you’ll be able to find the perfect equipment for you amongst our vast range.
For more information about our services or to ask any questions, please don’t hesitate to give the team a call on +97165566172 or e-mail them on info@alfeeltrading.com

